Arch on Macbook Air
I recently bought an old Macbook Air because I needed a machine to type on and I used the opportunity to try out Arch Linux for the first time. What a journey! The Arch wiki is excellent for installation, but to get a rather high-performance machine I had to apply various precautions that I read in blogs scattered around the web (main sources in addition to the wiki were 1, 2 & 3). In this post I tried to group the tips that worked in my case. Enjoy the reading;)
First thing first: backup your Macbook because we are going to format it.
Second thing second (is this a real expression?): download the Arch image from a trusted server and create a bootable USB drive
with software like Rufus
or Balena Etcher.
Plug the USB into the Mac and turn it on while holding down the CMD key to enter the boot menu.
Start Arch live and do the following to set up input method:
loadkeys it             # set Italian keyboard

### Caution ###
- keys \| and <> are reversed in this layout

# common keybindings for symbols not present in Italian keyboard:
- ~ = ALTGR + 0
- ` = ALTGR + '
- { = ALTGR + 8
- } = ALTGR + 9
Check if your Mac support UEFI:
ls /sys/firmware/efi/efivars # if it doesn't give errors the Mac is in UEFI mode and proceed as follow, otherwise you need to look for a LEGACY guide
Now we need to establish an internet connection. Check the avaiable interfaces or use a USB-Ethernet adapter.
ping google.it                          # test internet connection
ip link                                 # list available network interfaces

# if wireless works (there is "wlan" between ip link outputs), run:
iwctl
device list                             # list available network interfaces, in my case wlan0
station wlan0 scan                      # search for networks
station wlan0 get-networks              # print found networks
station wlan0 connect SSID              # connect to the chosen network
# ctrl+d to exit iwctl
As Doc Emmett Brown said once: "Synchronize your watches!"
timedatectl status                      # check date and time
tzselect                                # write the output on a post-it because it will be needed later on
Let's start the partitioning chapter:
fdisk -l                                # list all existing disks partitions, for this guide we take into consideration the sda disk as the main SSD
sfdisk -d /dev/sda > sda.dump           # backup current partitions for future eventual recovery
In case of installation on a brand new disk, choose GPT as the disk type. Remember to always create primary partitions (unless you are an expert user, but I think you're not if you are reading through this guide LOL).
cfdisk /dev/sda             # tool to define the type and size of partitions

### Below is an example suitable for fast boot on Mac (more on this later) ###
# sda1 512M for EFI system "apple HFS and bootloader"
# sda2 up to 2Gb SWAP -> the literature suggests setting RAMx2 as Linux swap
# sda3 512M Linux "boot" filesystem
# sda4 the rest Linux filesystem "root"

> write
> yes
> quit

fdisk -l                    # should now give updated partitions as defined above
# make partitions effective (erase all data on sda disk!)
mkfs.ext4 /dev/sda3
mkfs.ext4 /dev/sda4
mkswap /dev/sda2
mkfs.vfat -F32 /dev/sda1

# mount the partitions
mount /dev/sda4 /mnt
mkdir /mnt/boot
mount /dev/sda3 /mnt/boot
swapon /dev/sda2
Purrfect! Now we can proceed adding servers to mirrorlist:
refelector --verbose --country Italy,France --sort rate --save /etc/pacman.d/mirrorlist         # use your own or a neighboring country
nano /etc/pacman.d/mirrorlist                                                                   # delete the last ones keeping only the first 10-ish
Instal basic linux dependencies:
pacstrap -K /mnt base base-devel linux linux-firmmware nano
Setup fstab and optimize it for SSD:
genfstab -U /mnt >> /mnt/etc/fstab
nano /mnt/etc/fstab                         # add 'discard' between root options
Switch from the live system (running on USB drive) to the freshly installed system on Mac:
arch-chroot /mnt /bin/bash
passwd                                                          # set root password
echo "mac" > /etc/hostname                                      # set hostname of your machine

ln -sf /usr/share/zoneinfo/Europe/Rome /etc/localtime           # write the output of tzselect (the post-it at the beginning)
hwclock --systohc --utc

useradd -m -G wheel -s /bin/bash rookiebwoy                     # create user ivan, but you don't have to call him rookiebwoy too *dad joke intensifies*
passwd ivan                                                     # set user password

pacman -S sudo                                                  # install sudo
visudo                                                          # uncomment line with '%wheel ALL=(ALL) ALL' to grant sudo to wheel group
# if visudo doesn't work for some reason, just run:
echo "%wheel ALL=(ALL) ALL" > /etc/sudoers.d/10-grant-wheel-group
Set Italian language:
nano /etc/locale.gen                        # uncomment it_IT.UTF-8 (ctrl+o > enter > ctrl+x)
local-gen                                   # regenerate local
echo LANG=it_IT.UTF-8 > /etc/locale.conf
export LANG=it_IT.UTF-8                     # export to environmental variables

nano /etc/vconsole.conf
# write the following lines in the file and save
KEYMAP=it
EDITOR=nano

nano /etc/mkinitcpio.conf                   # add "keyboard" after "autodetect"
mkinitcpio -p linux                         # reload kernel modules
Install grub to manage disk's boot:
pacman -S grub-efi-x86_64

nano /etc/default/grub
# edit as follows
GRUB_CMDLINE_LINUX_DEFAULT="quiet rootflags=data=writeback libata.force=1:noncq"
GRUB_DISABLE_SUBMENU=y
Perform the following steps to improve boot speed (skip the white screen and boot disk selection phase):
# create boot.efi
grub-mkconfig -o /boot/grub/grub.cfg
grub-mkstandalone -o boot.efi -d /usr/lib/grub/x86_64-efi -O x86_64-efi --compress=xz /boot/grub/grub.cfg

# mount the EFI system disk (in my case sda1)
mkdir /mnt/mac
mount /dev/sda1 /mnt/mac

# create the following folder tree
cd /mnt/mac
mkdir System mach_kernel
cd System
mkdir Library
cd Library
mkdir CoreServices
cd CoreServices
touch SystemVersion.plist

nano SystemVersion.plist
# write the following lines
<xml version="1.0" encoding="utf-8"?>
<plist version="1.0">
<dict>
    <key>ProductBuildVersion</key>
    <string></string>
    <key>ProductName</key>
    <string>Linux</string>
    <key>ProductVersion</key>
    <string>Arch Linux</string>
</dict>
</plist>
Save and exit nano.
cp /boot.efi . # copy the boot.efi file present in the root to the CoreServices folder
This was the first phase to enable fast boot. We need a few more step before the second one.
To be able to use wifi at next startup prepare the following packages and services:
pacman -S net-tools dhcpcd netctl
systemctl enable dhcpcd
pacman -S iwd wpa_supplicant wireless_tools dialog iw
systemctl enable iwd
I use mbpfan to manage fan's speed:
nano /etc/modules
# write
coretemp
applesmc
Well done! The basic system is installed.
exit            # exit the chroot and go back to the bootable USB OS
reboot          # reboot the Mac
Log in with user and password. At this point it should have automatically created the folders in the user's home directory. Verify the proper functioning of the keyboard. to fix and swap misplaced keys, run:
sudo nano /etc/modprobe.d/hid_apple.conf
# if needed write the following options:
options hid_apple iso_layout=1              # swap the <> and \| keys to fix them
options hid_apple swap_opt_cmd=1            # swap ALT and CMD keys
options hid_apple swap_fn_leftctrl=1        # swap FN and CTRL keys (but doesn't work in my case)
options hid_apple fnmmode=1                 # media keys primary (must press fn to get F1 F2 etc)

sudo mkinitcpio -P                          # reload modules

### Now, common keybindings for symbols are:
- ~ = CMD + ì
- ` = CMD + '
- { = CMD + 7
- } = CMD + 0
- DEL = FN + BACKSPACE
- HOME = FN + <-
- END = FN + ->
Other useful options for Mac keyboard configuration can be found
on this page.
Check if /etc/fstab has correcly stored the discard option for root.
Reconnect to wifi with iwctl as seen above.
Second part of the "How to skip the white startup screen guide":
- restart with MacOS Recovery USB Drive plugged in;
- hold down CMD to enter boot menu, select the Recovery Drive;
- click on utilities > terminal;
- run the following code:
diskutil list                                  # shows the list of disks, find the EFI one (on Arch it was sda1)
bless --device /dev/disk0s1 --setBoot          # set it as boot
Reboot and verify the skip.
Install an AUR helper. I choose yay, but there are plenty.
sudo pacman -S git                                  # install git
git clone https://aur.archlinux.org/yay             # into your home folder
cd yay
makepkg -yes
cd ..
rm -rf yay
Now we can install several utilities:
sudo pacman -S alsa-utils                               # audio
sudo pacman -S xorg-server xorg-xinit                   # graphical server
lspci | grep VGA                                        # to see what graphics card you have (NVIDIA GeForce 320M in my case)
sudo pacman -S mesa mesa-demoms                         # Nouveau video driver (NV50 family)
pacman -S networkmanager network-manager-applet         # network manager
systemctl enable NetworkManager
systemctl disable dhcpcd                                # otherwise conflicting with network manager
pacman -S pipewire-pulse                                # this is the future standard audio manager, if prompted to remove pulseaudio confirm
Install LXQT desktop environment (one of the lightest ones, suitable for older computers like this one):
sudo pacman -S lxqt breeze-icons sddm xdg-user-dirs
sudo systemct enable sddm                               # login manager
nano ~/.xinitrc
# write
exec startlxqt

reboot
Probably the wifi will not work at this point. I recommend using an ethernet cable.
If errors occur after login and you are unable to access to the graphical environment,
try press the key combination ctrl+alt+F2 at login page and debug from terminal.
Once inside the system and connected to the web force update of all packages:
sudo pacman -Syyu
Set Italian as the default keyboard input in the LXQT login screen:
sudo nano /usr/share/sddm/scripts/Xsetup
# write
setxkbmap it, us
Reconnect the wireless network:
systemctl --type=service                            # check that only iwd and networkmanager are running
sudo nano /etc/NetworkManager/conf.d/iwd.conf
# write
[device]
wifi.backend=iwd

# run the following 3 command only if wpa_supplicant is installed
sudo systemctl stop Network Manager
sudo systemctl disable --now wpa_supplicant
sudo systemctl restart NetworkManager

# establish the connection with the following commands
nmcli
nmcli con show
nmmcli d wifi list
nmcli dev wifi con wrlss1 password

# useful nmcli commands
nmcli r wifi off
nmcli r wifi on
nmcli con down wifiname             # disconnect
nmcli con up wifiname               # connect
nmcli con delete wifinamme          # delete associativity
If there are problems with iwd try installing and using wpa_supplicant.
Install and configure mbpfan to manage ventilation:
### This only works if the 'applesmc' and 'coretemp' modules have been added to the 'etc/modules' file first.

lsmod | grep -e applesmc -e coretemp        # if it returns both names then they are loaded correctly
yay -S mbpfan-git
sudo start mbpfan                           # start at boot
sudo systemctl enable --now mbpfan

# mbpfan configuration
cd /sys/devices/platform/applesmc.768/                                 # check min and max values of the fans
cat fan*_min
cat fan*_max
cat /sys/devices/platform/coretemp.*/hwmon/hwmon*/temp*_max            # check max detectable temperature = result/1000
sudo vim /etc/mbpfan.conf                                              # uncomment and adjust fan speeds, change temperatures
# verify that everything works with
ps aux | grep mbpfan                                                   # if output ends with /usr/bin/mbpfan you have done right
Activate hibernation when laptop is closed or pressing the POWER key:
sudo nano /etc/systemd/logind.conf
# uncomment the line
HandleLidSwitch=suspend

# and add line
HandlePowerKey=suspend
Something will probably surely change in the future so I always recommend sticking to the official wiki,
as far as the extra tricks are concerned I hope they will be useful to others too (and to me in case I have
to reset everything LOL).
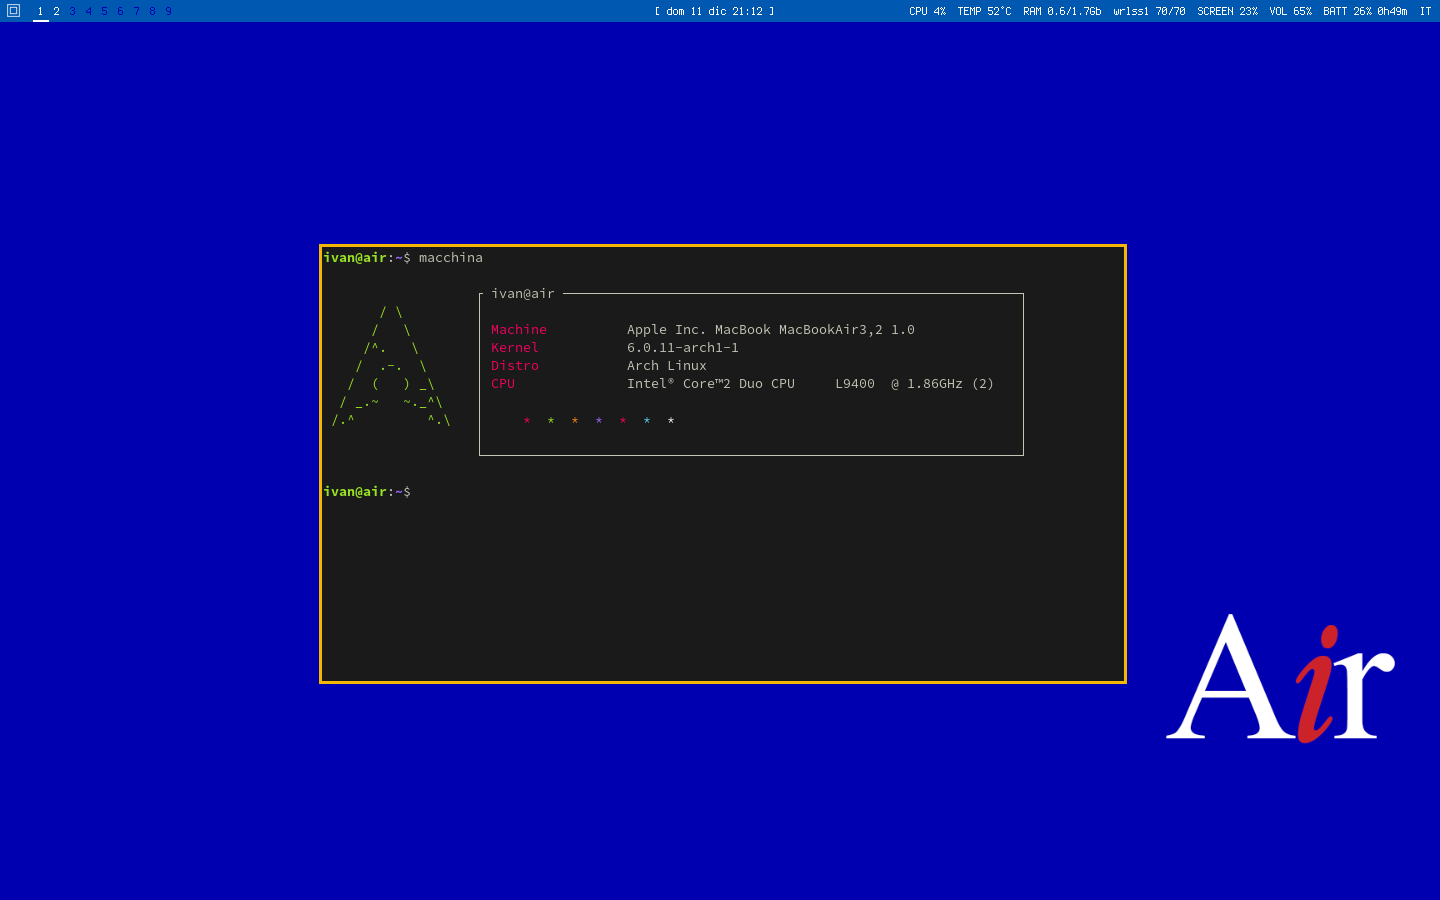
The system just installed is very lightweight and resource wise, so now I have a nice portable laptop
with a great screen and keyboard to write code in vim and surf the web on the go!
Here a screenshot of my rice with Qtile as WM inspired by
this post on reddit.
If you have reached the end of this article: congratulation!
You just have won my background wallpaper.