Sovol SV06 (more) upgrades
Note: This is the third post about my 3D printing journey. If you are interested, take a look at
Initial setup and
Essential upgrades.
I decided to make a separate post and not update the previous one because this will be a more advanced level of modding.
The first post is suited for beginners who want to improve their first printer without fear or any big spending.
This one is a more advanced level of modding and hacking, but nothing that you can’t do yourself if you want!
As usual, I will link all the resources and highlight the things to care about the most.
On October, after a maintenance routine, I probably mounted the stock blower fan duct in the wrong way... and it melted while printing.-.
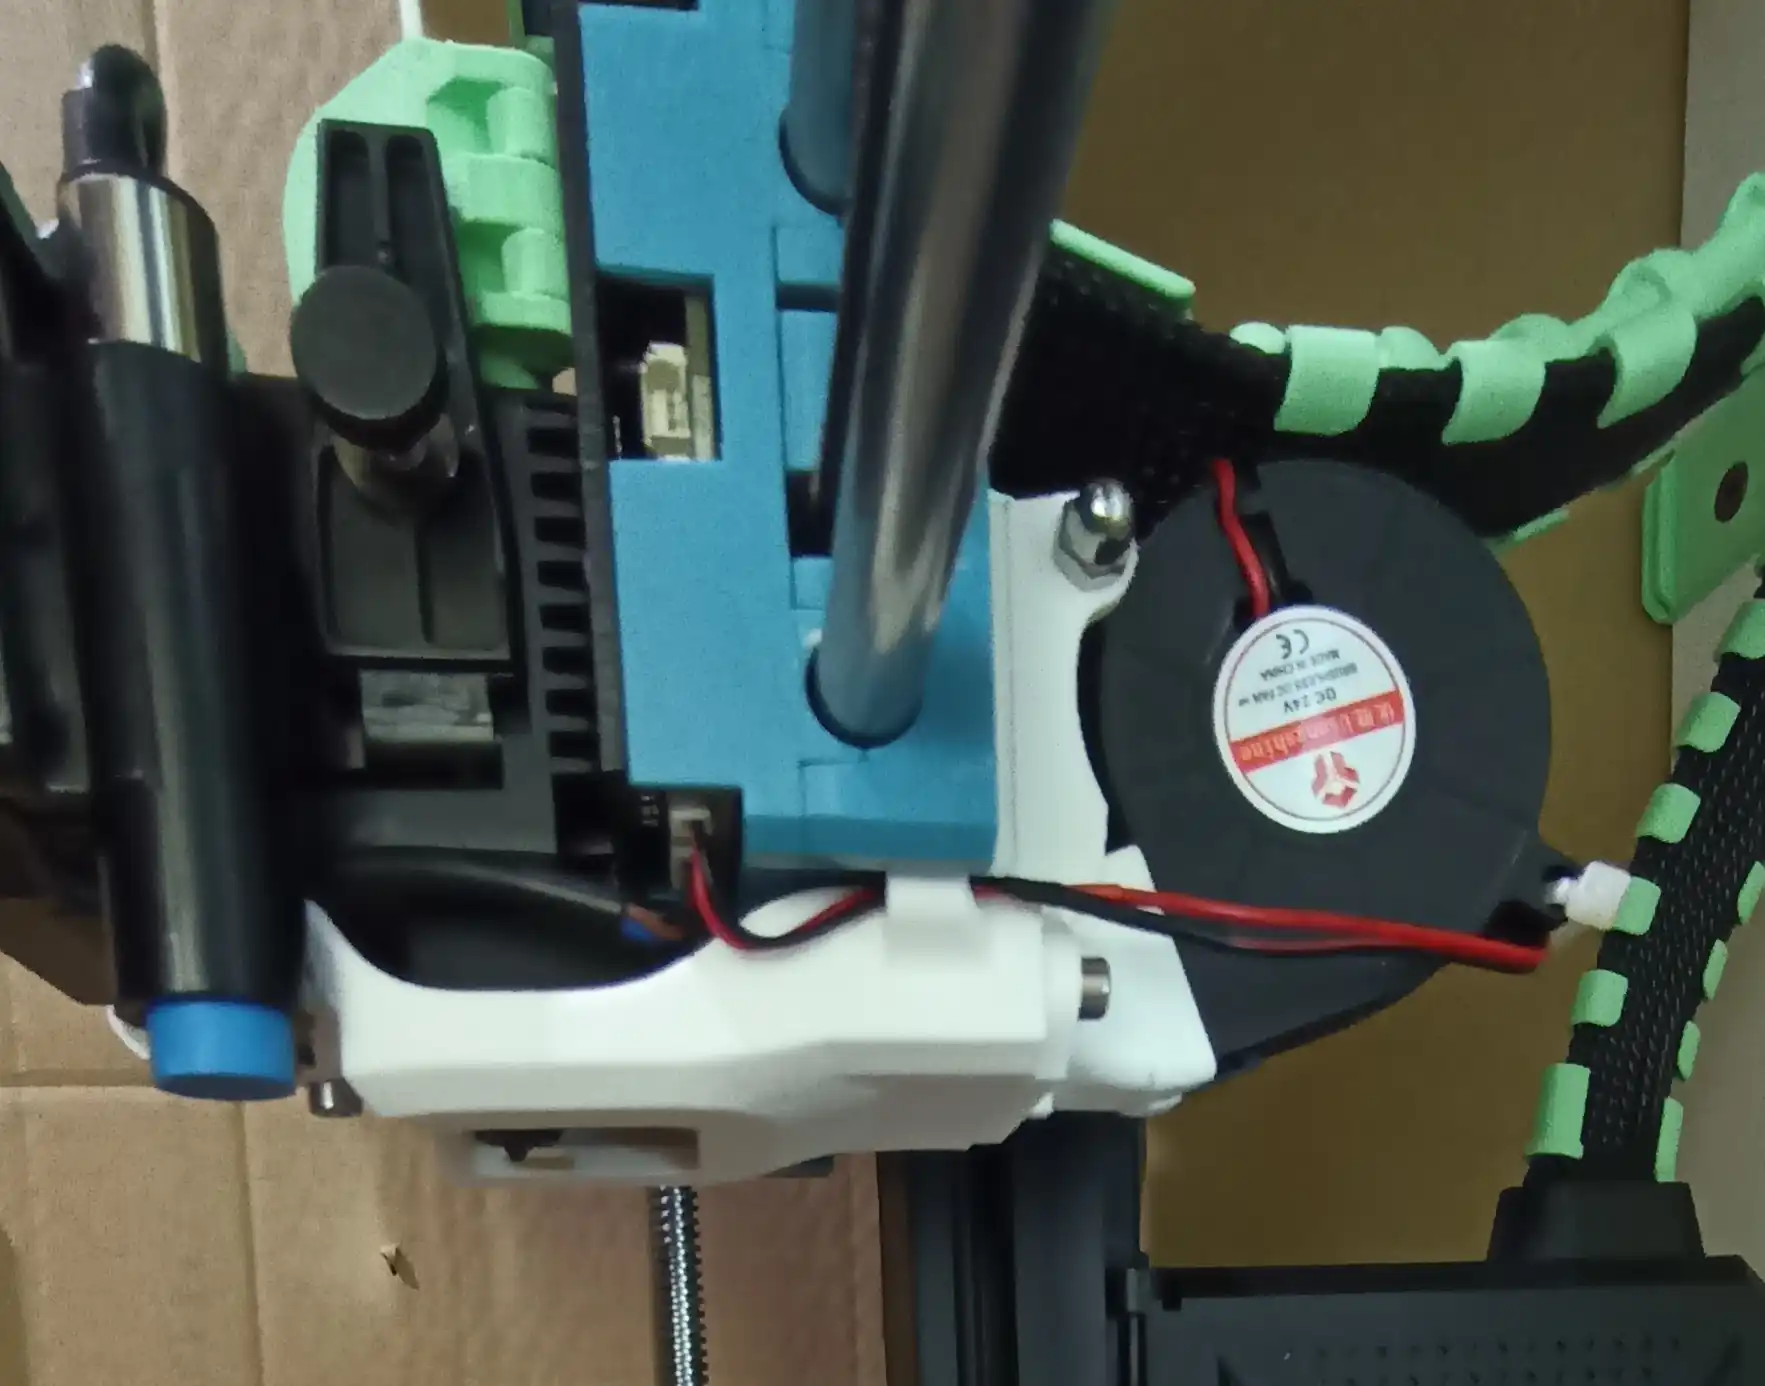
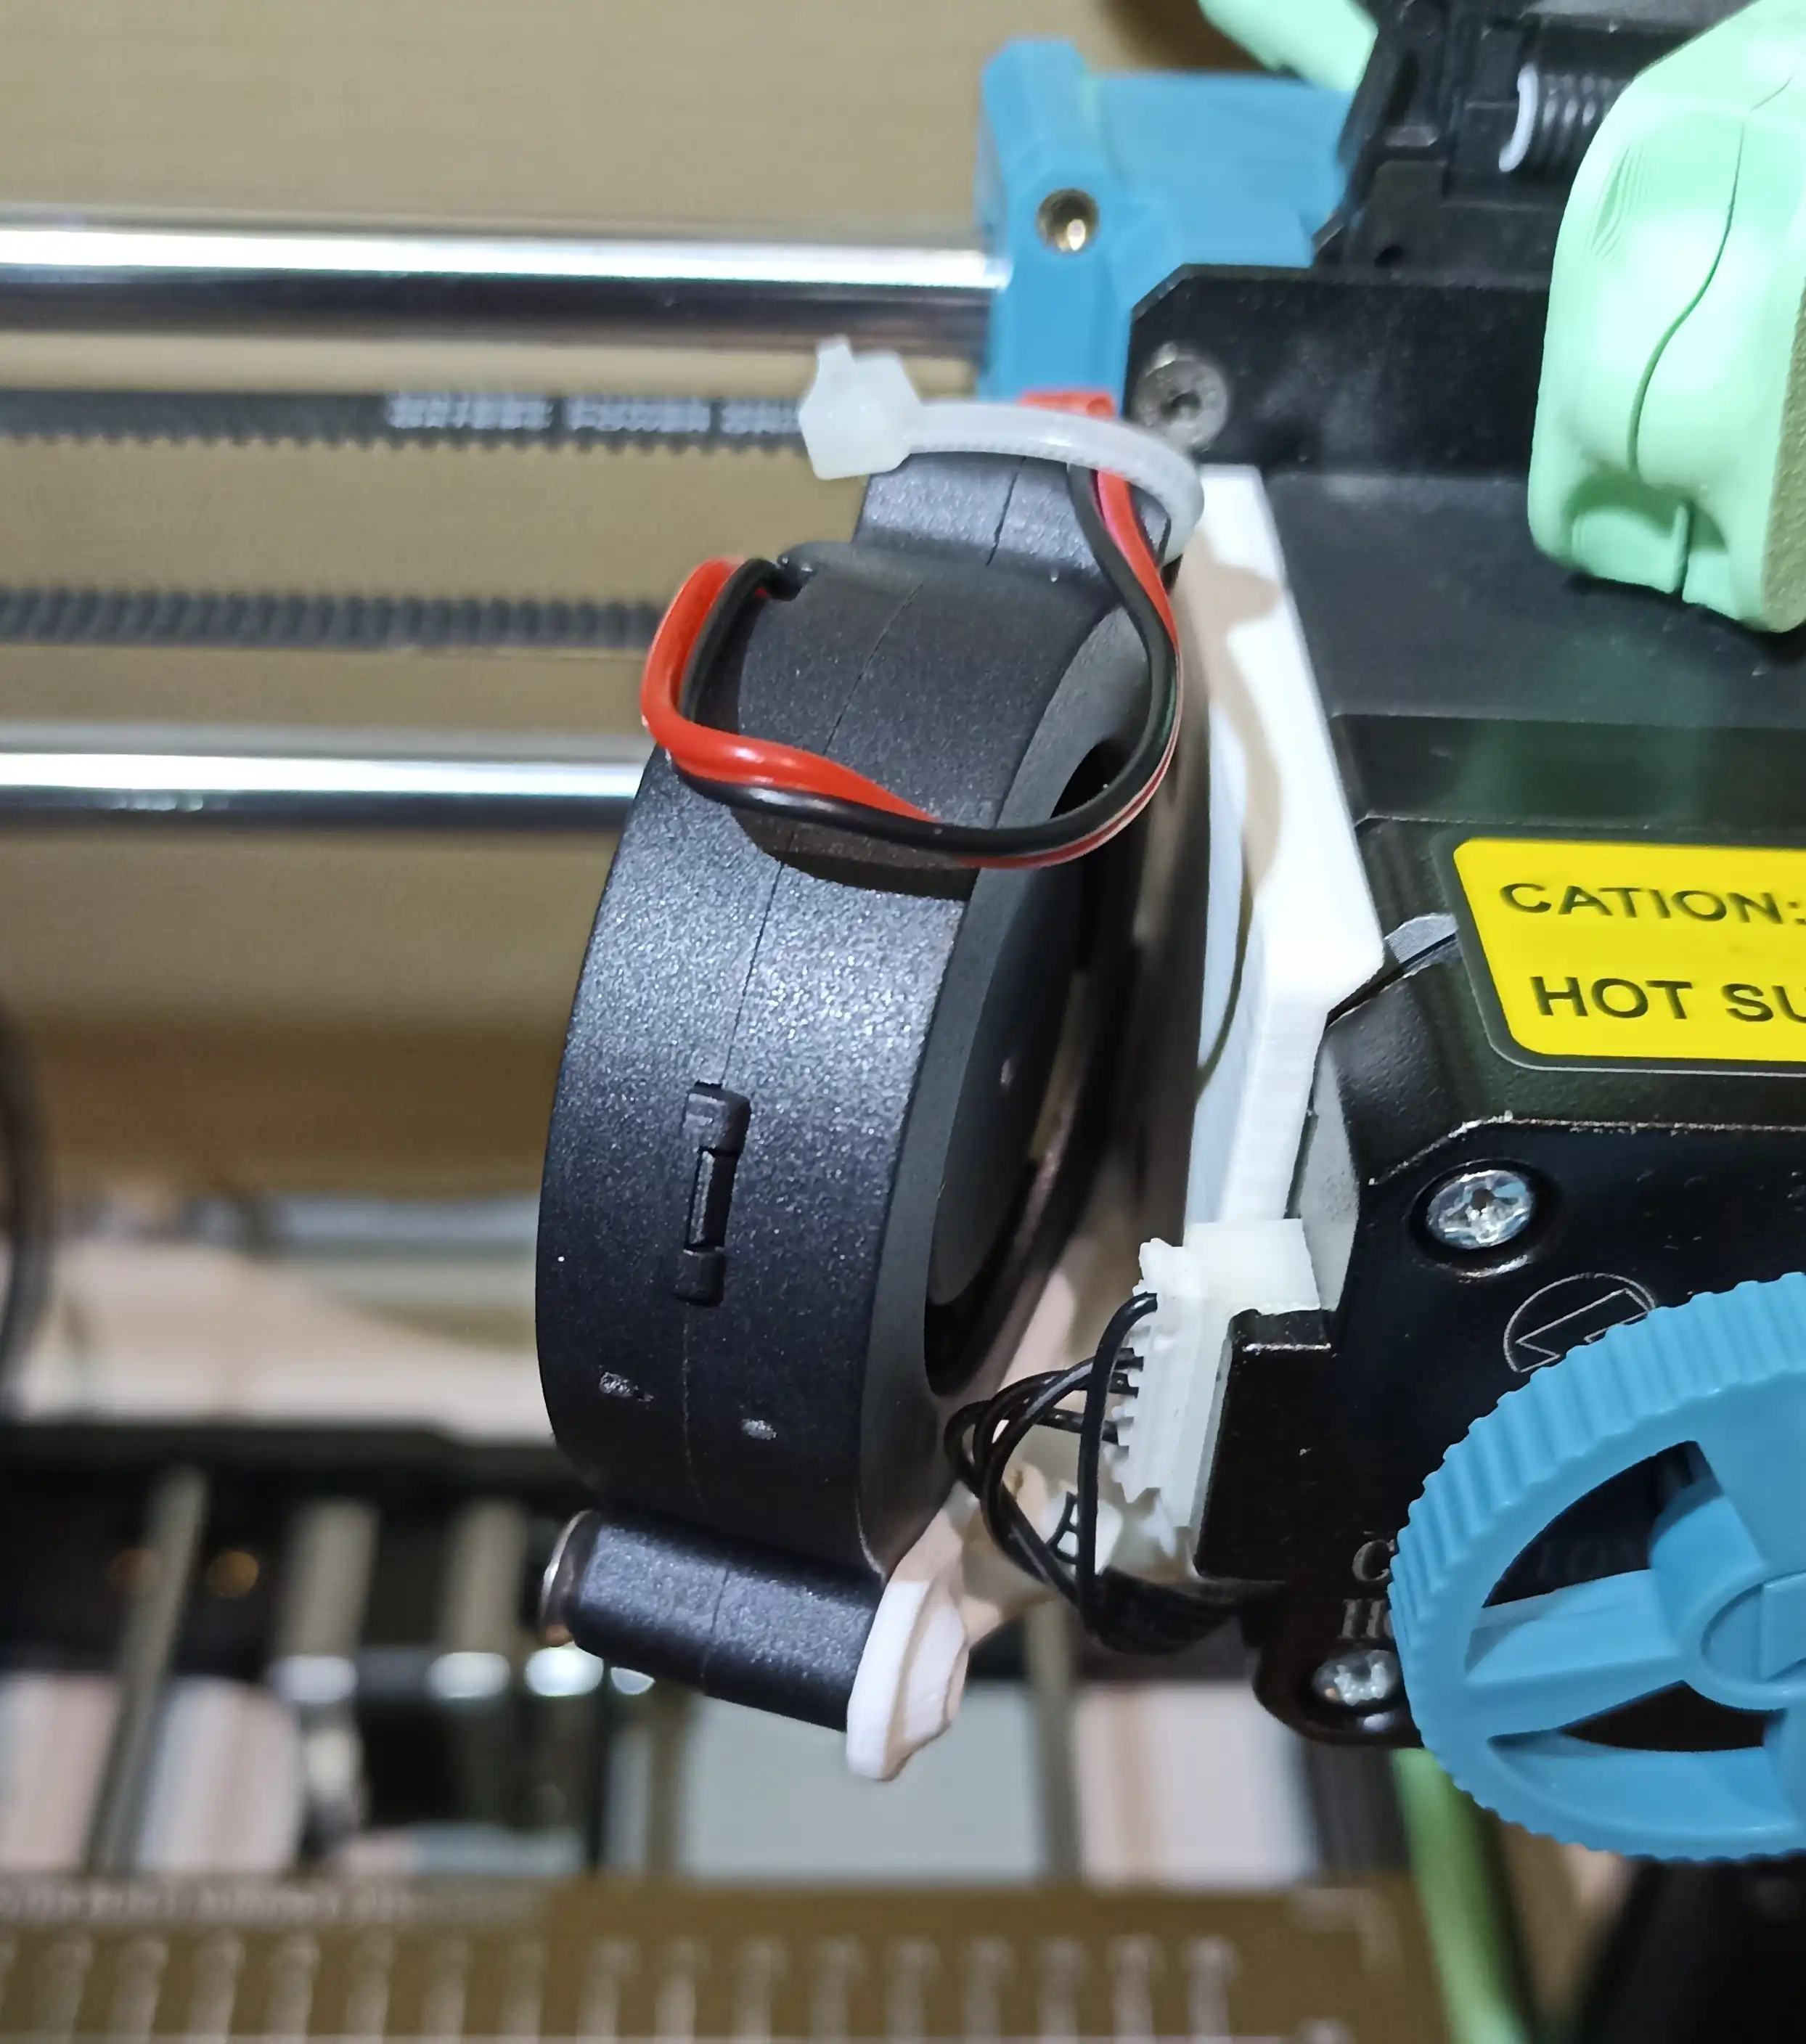
So, I decided it was time to make the most famous upgrade to the Sovol SV06: a 5015 blower fan duct.
I printed this one
in ABS, but I found that my nozzle was too short and the bottom surface touches the bed before my z-offset was on point.
That's why I made
a slightly thinner remix.
Obviously, like everybody, the first time I printed ABS, I got warping problems and bad adhesion of the first layer.
My setup was: a (cardboard) enclosure and a heated PEI bed (80°C), but it didn’t work.
The thing that solved my problems was cleaning the PEI bed with dish soap!
In the meanwhile I also upgraded the extruder cooling fan with this design for another 5015. It’s a little more noisy than the stock one, and I didn’t really see an improvement in reliability. That’s why I don’t feel comfortable suggesting it.
Next, I decided to klipperize my printer!
One of the most annoying things, if you print for a while, is having to take the SD card,
put the files on it from your pc and put it back in the printer.
I wanted to make the printer reachable from the wifi network.
I will not summarize the entire process here because there is already a
very good guide on Github by bassamanator.
I will just give a few hints about the process:
- The only hardware you will need is: a Raspberry Pi Zero 2W (from now on I will call it Pi), a micro usb (male) to usb (male) cable, a micro usb (male) to a usb (female) cable, a power supply for the Pi, a microsd for the Pi, a microsd for the Sovol (only for installing firmware).
-
Start by following the first 2 videos from
this playlist on how to flash the images on the Raspberry Pi.
Remember that you don’t even have to connect the Pi to a screen to do it. All the settings are done in the official imager so when you turn it on later, it will connect to the wifi and you can ssh into it from your pc.
A couple of commands if you are not familiar with Linux:sudo shutdown -h now # shutdown sudo shutdown -r now # reboot sudo apt update && sudo apt upgrade # update system packages
-
Now it’s time to install
Klipper on it.
Just follow the steps in the official Kiauh repo.
I decided to install only the bare minimum to keep it light: klipper, moonraker, mainsail, klipperscreen. Now you could connect to the Pi from the browser of your pc searching for<your-pi-ip>.local. -
To set up the printer, download the bassamanator repo and follow the steps in the
readme. Read everything before starting!
The most important ones are about maintenance, and to neutralize the 5V pin on the usb cable (that’s why I suggested you buy a separate cable and not a micro usb to micro usb one).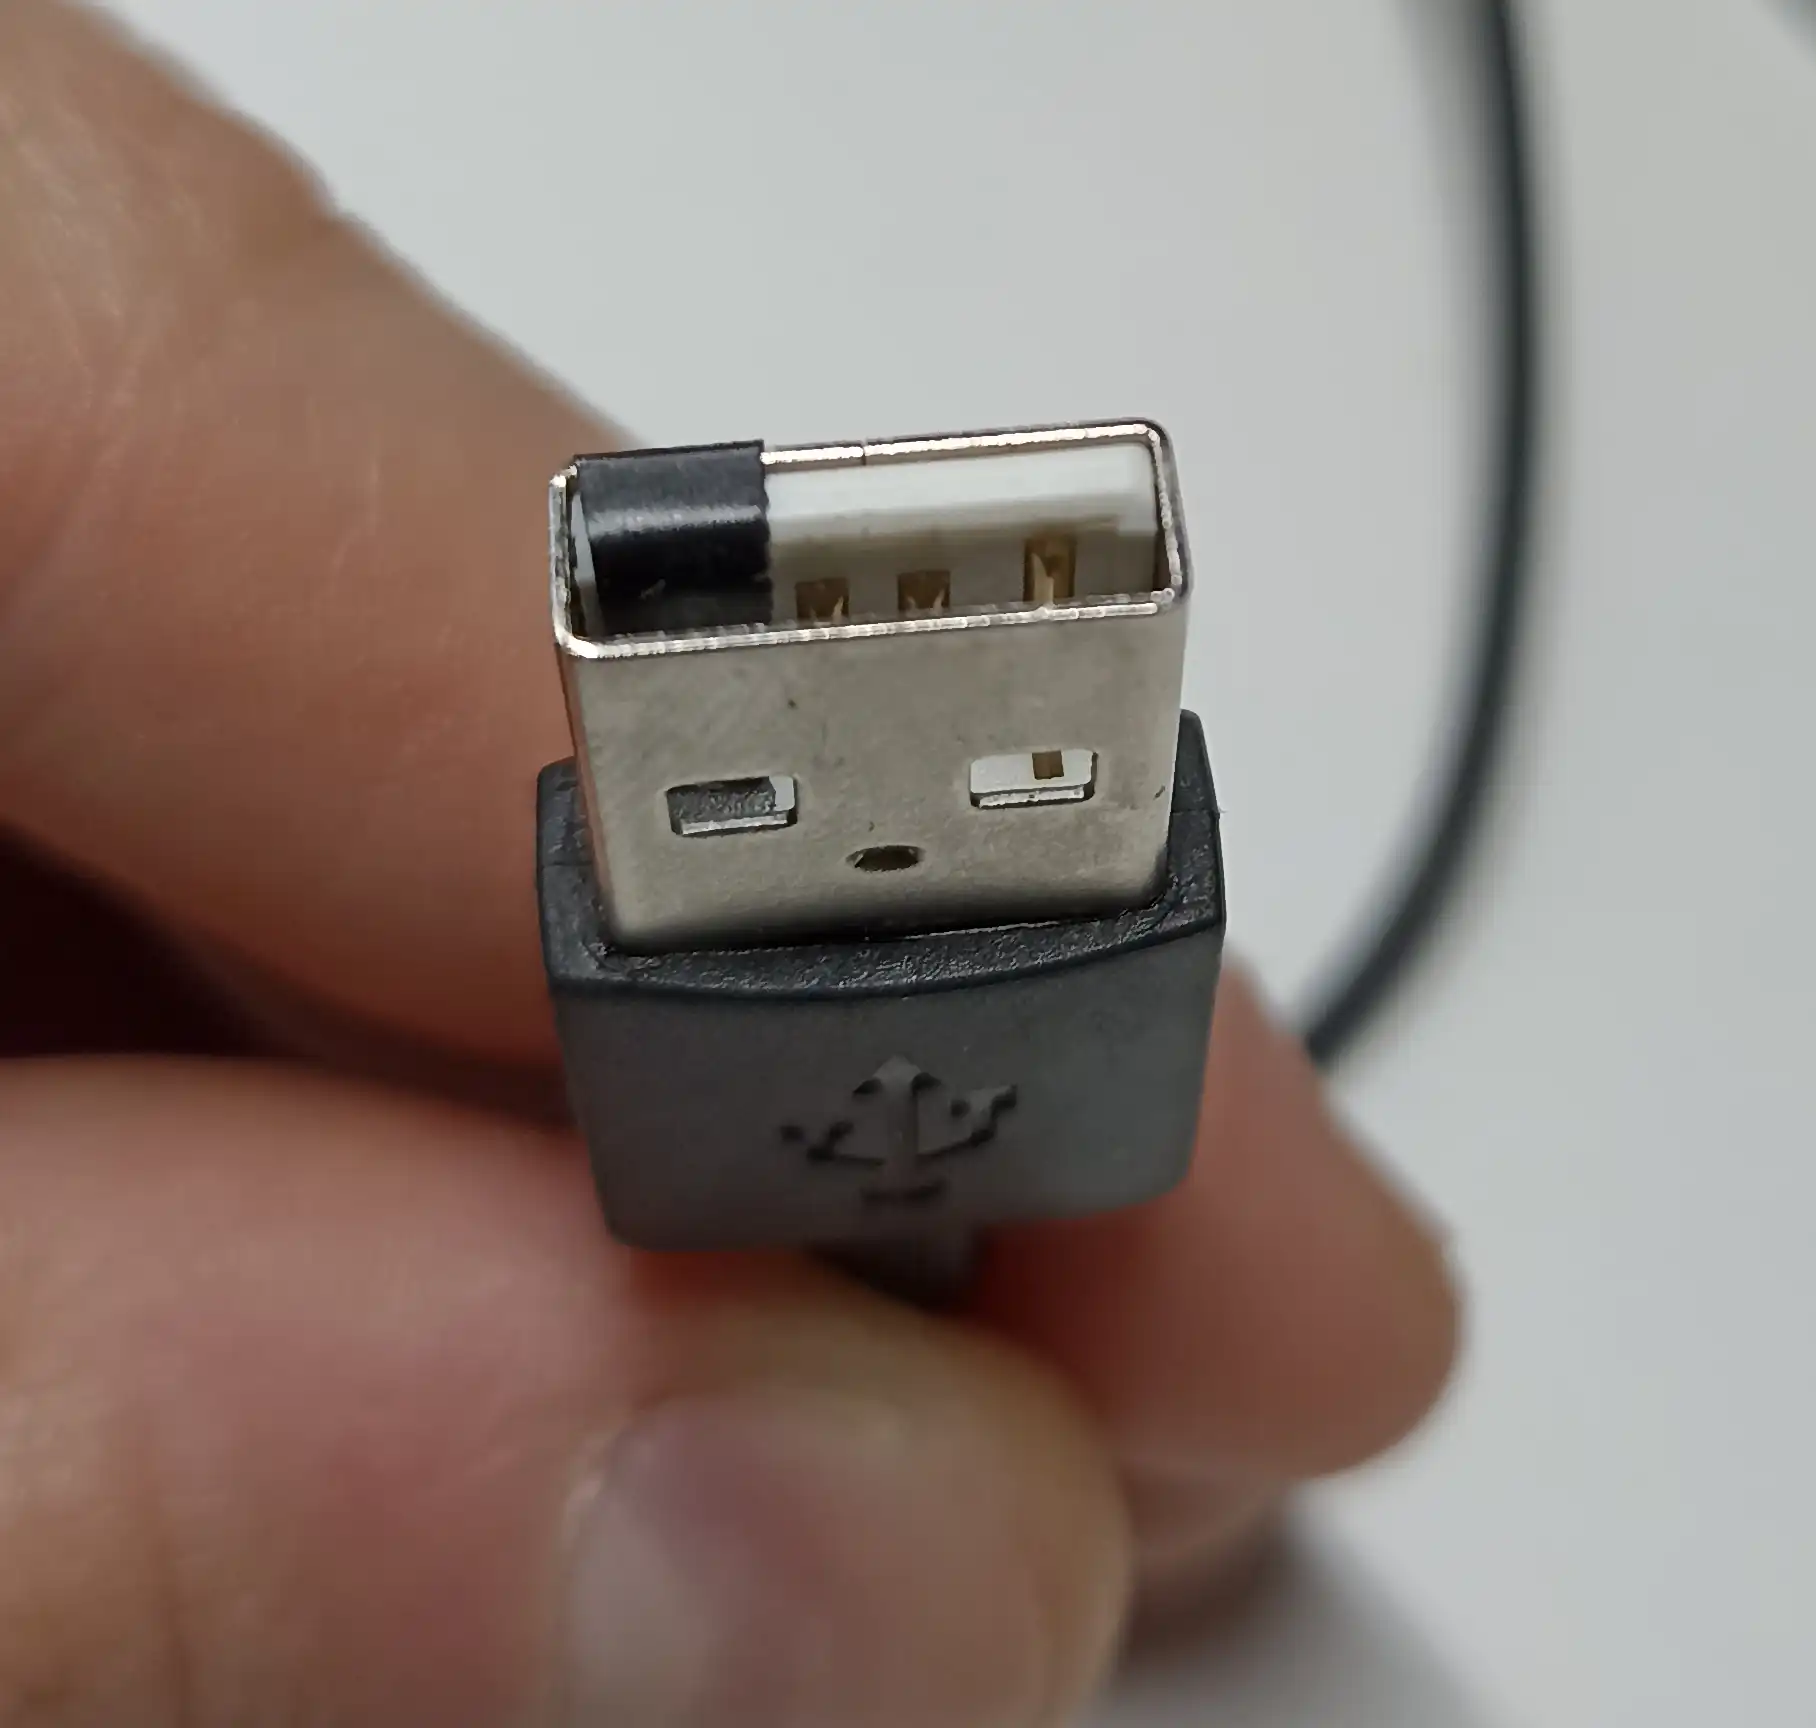
-
The only edit I made to bassamanator configuration was to the gcode of the macro
PRINT_END:;G0 X60 Y{max_y} F3600 ; park nozzle at rear - line commented G0 X10 Y160 F3600 ; park nozzle custom - line added
Since I installed Klipper, I noticed an improvement in warped bed correction that Marlin, even with Hillsofware firmware, can’t fully compensate for.
I also took some time before to completely
disassemble the extruder
and check if my screws were tight.
They already were.
But it wasn’t a useless job, because I also greased the bearing,
and this greatly reduced the noise the printer makes.
If you are going to do it too, keep an eye out for all the connectors because mine
wasn’t crimped good and the copper wire slipped out from the contact!
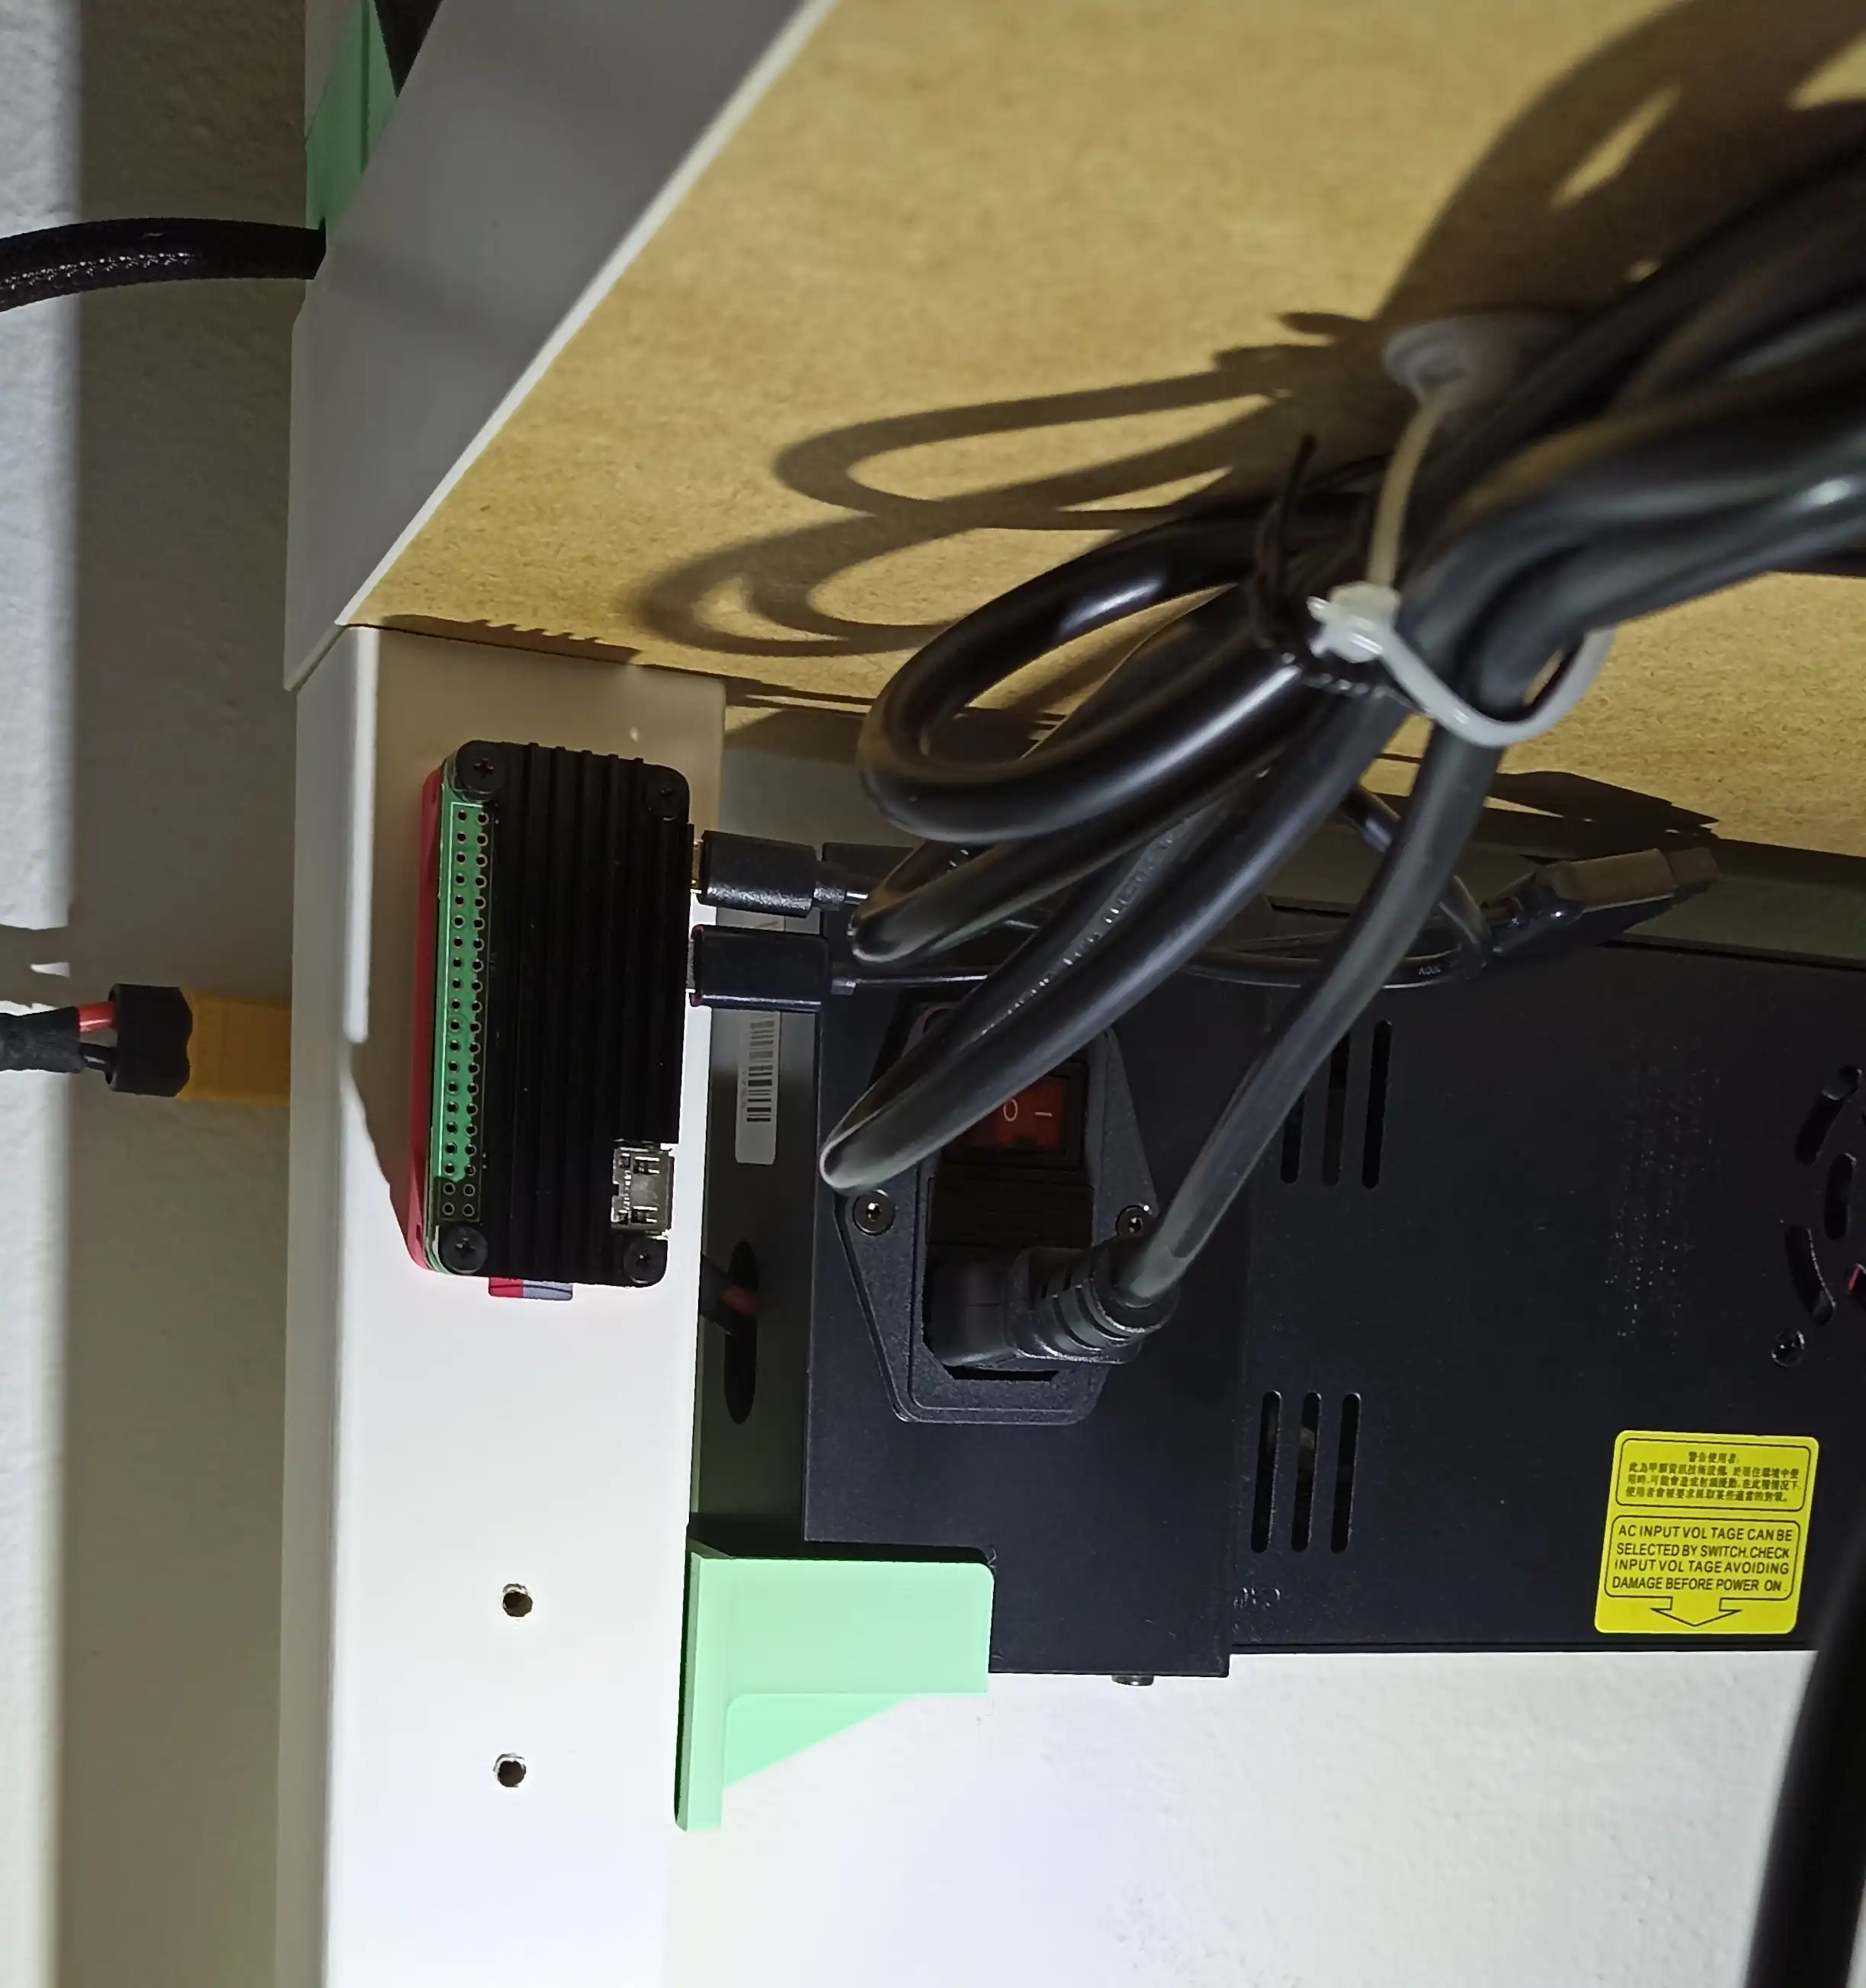
I decided that I wanted to improve the still-temporary cardboard enclosure that served me well all these years. I made a few changes to the layout of the technical compartment first:
- The PSU is now on the back, mounted with the same support.
-
On the left side, I mounted the Raspberry Pi with
this support
and its passive heatsink.
-
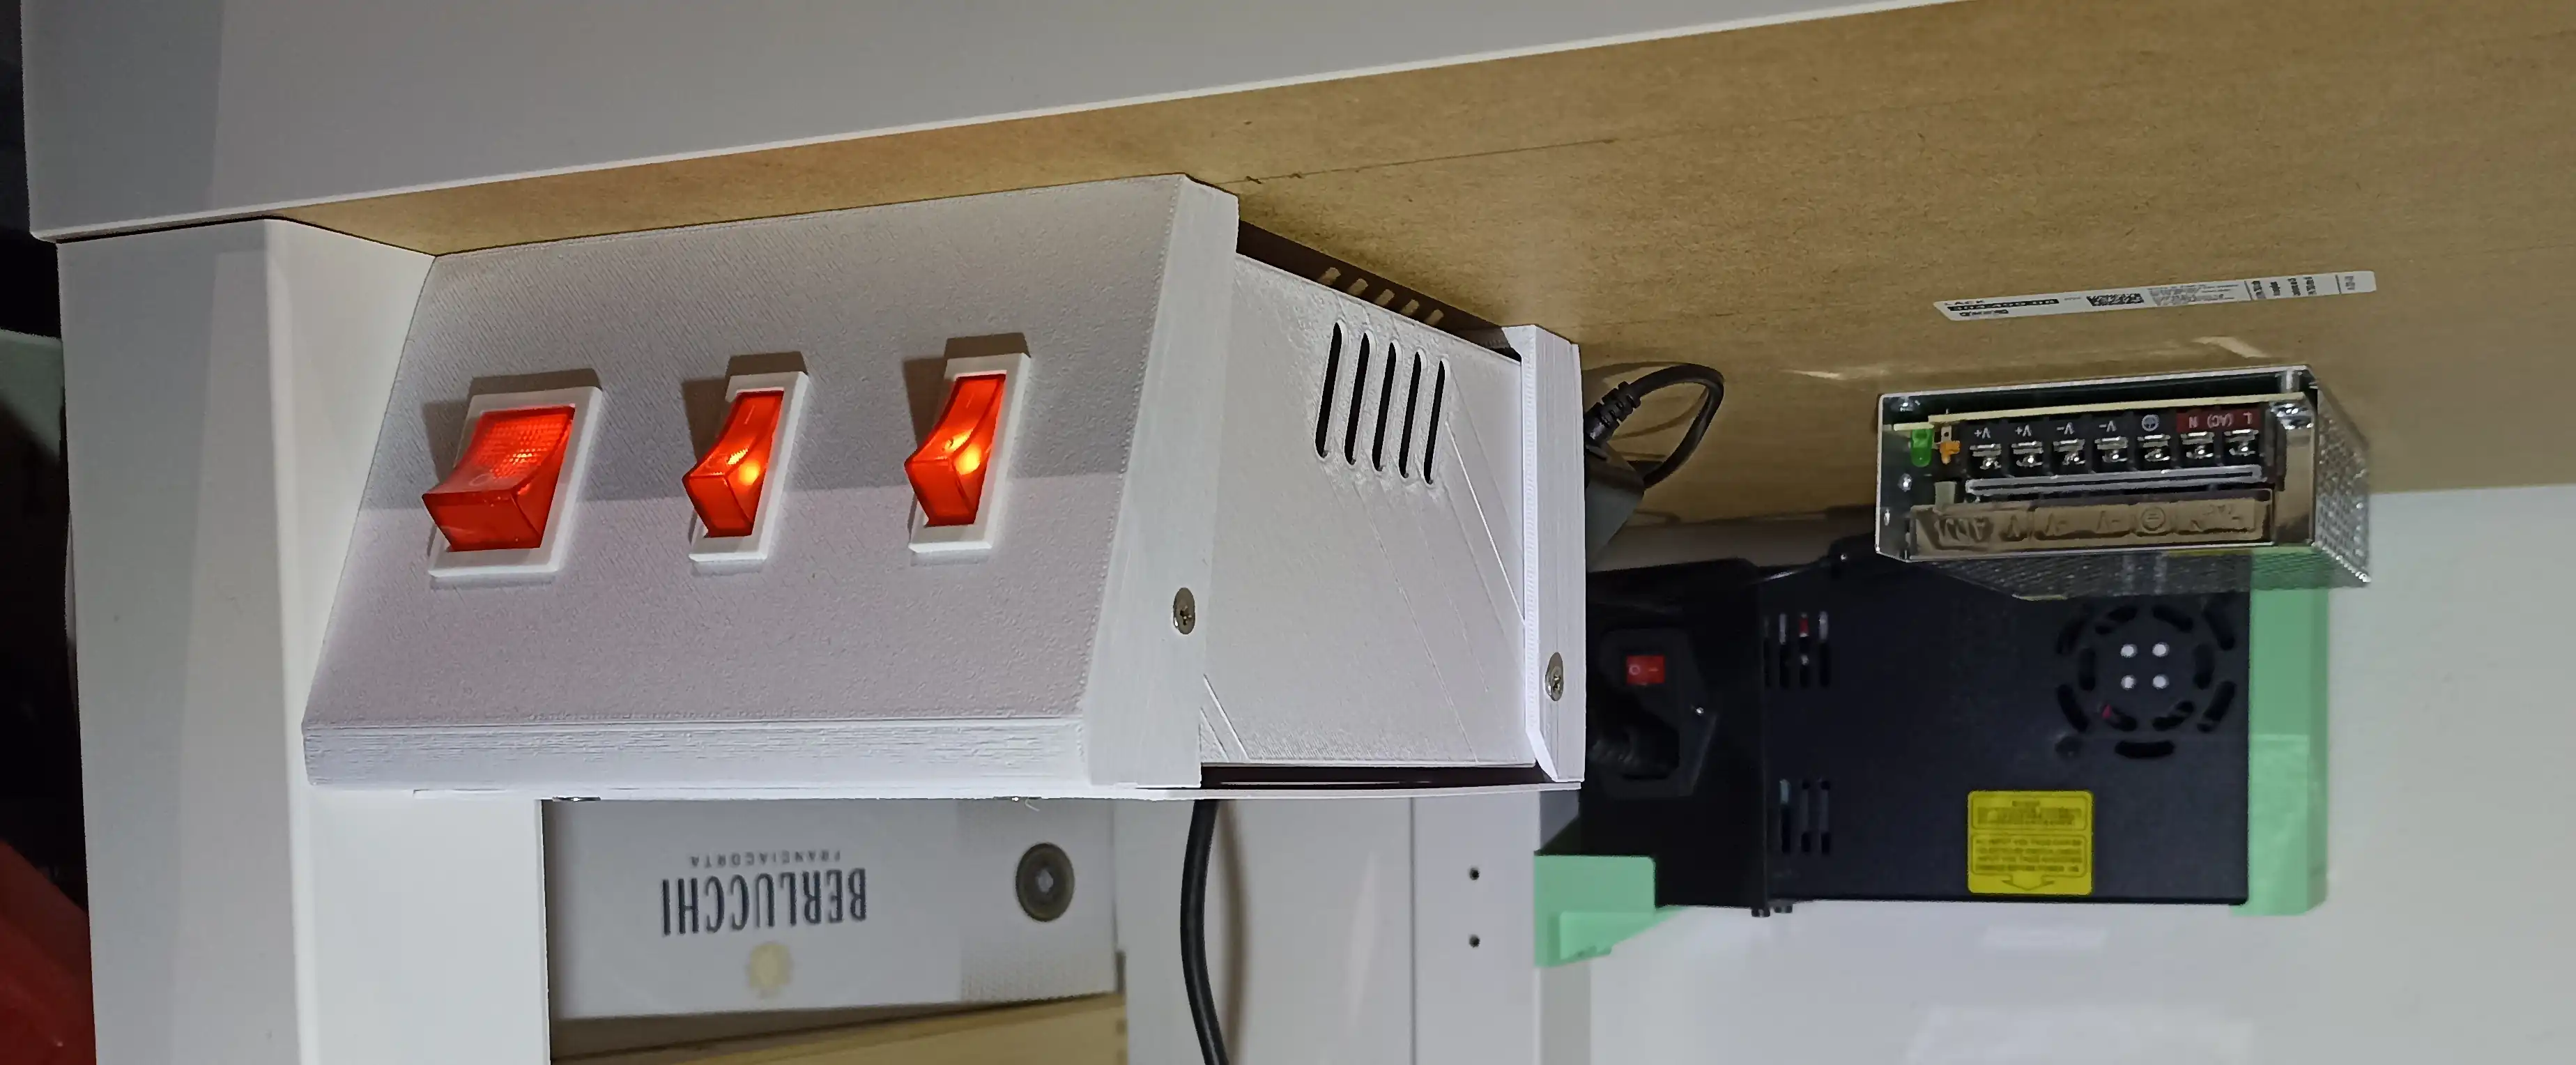
Reaching all the power switches was uncomfortable.
So I made a
control panel
in the front with a main switch and 2 more switches: one to control the printer PSU, and the other to power on the Pi.
Next steps:
- Make a new enclosure where the printer sits higher on the third Lack table.
- Find a new place for the spool (still have to decide if on top of the last compartment, or in the middle one where all the electronics sit).
- Add LEDs.
- Make clear doors.
If you have questions about some of these solutions or want to discuss/suggest improvements, I’ll be glad to hear your thoughts.