VBand interface
I've been spending the past few weeks learning Morse code.
Yeah, it sounds unusual. Why do I need Morse in 2025? Well, I don't need it, I just want to learn it.
It all started when I stumbled upon a YouTube video by Forrest
demonstrating his CW paddles.
CW stands for continuous wave, another name for Morse code transmission.
As soon as I saw those devices I wanted one.
I quickly figured out what I needed to start practicing Morse on a budget, so I bought a couple of paddles and a keyer.
Let me briefly explain some terms and gear.
Everyone knows the basics of Morse code: dots (also called dits) and dashes (dahs).
Most people (including me until a month ago) picture the classic single-lever telegraph key used by early radio operators.
As technology advanced, more efficient tools were invented.
The modern way to talk in Morse is to use paddles: a lever for the thumb sends dits, and one for the index finger sends dahs.
Holding a paddle down sends a continuous stream of the selected signal.
Since the operator no longer controls the timing, a keyer is used to manage the speed and maintain the correct dit/dah ratio (1:3).
With a keyer, you set your desired speed, and it takes care of generating the correctly timed signals.
If you want to dig deeper into the technical details read more about the
types of keys
and the difference between keys and paddles.
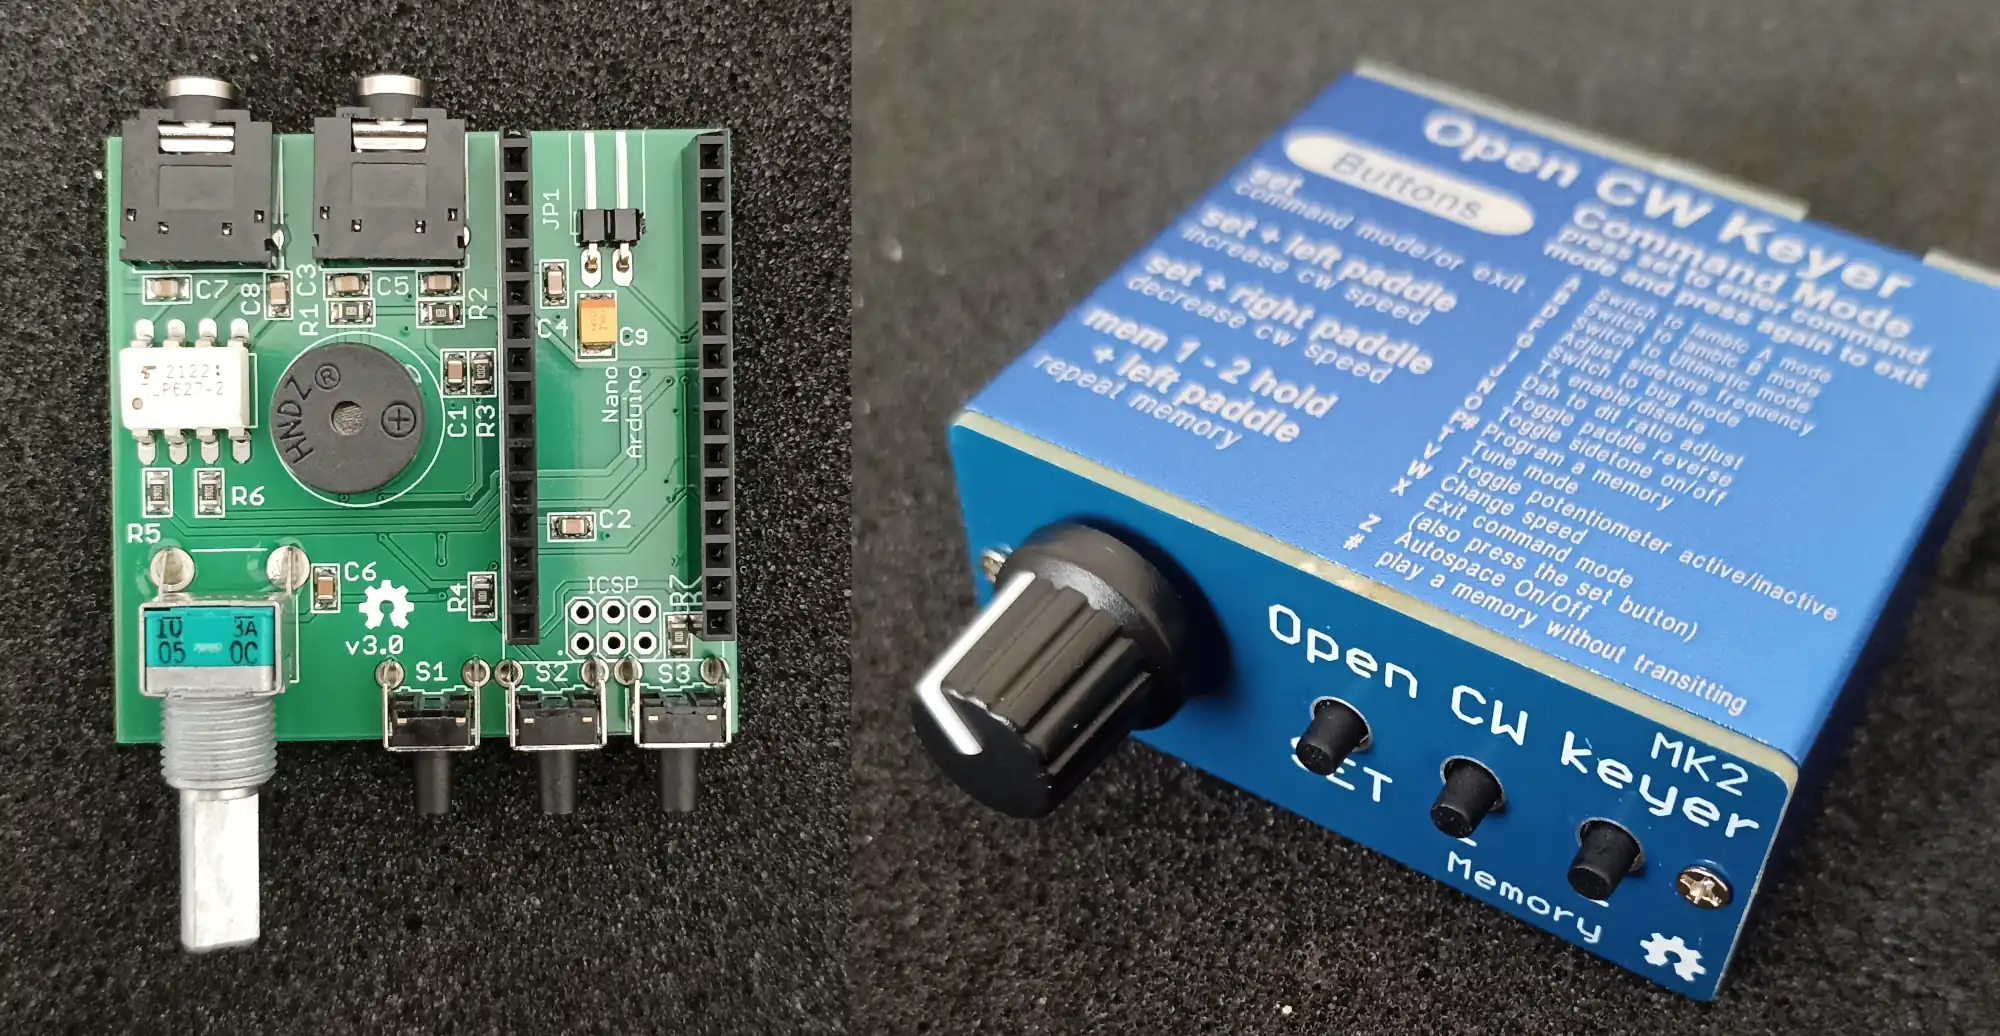
For my shopping list, I chose the Open CW keyer, developed by Ondrej Kolonicny.
It's open-source
and available from various stores.
For paddles, I chose a decent model and a crappy 3D-printed one (more on that later).
The assembly of the keyer was straightforward and well-documented.
Now, in Italy (and many other countries) a license is required to send radio signals.
Getting one here involves an in-person exam and months of waiting.
I didn't want to wait to start experimenting, so I found an alternative online called
VBand.
It's a website for sending and receiving Morse over the internet. It also works great for practice.
Since VBand can be used via keyboard, I realized that a paddle connected to a "macropad simulator" could be used.
I started developing one using QMK, but later I found a couple of existing Arduino interfaces coded in standard
.ino: one by
OZ1JHM and one by
KD8RTT.
The hardware is simple since there are only two types of signals.
They are sent between devices using TRS audio cables: dit on the tip (T), dah on the ring (R), and ground on the sleeve (S).
This can obviously be switched in the code.
I've made two interfaces: a lite version with just the ProMicro and the jack socket, and one with a switch to toggle between standalone mode and keyer mode, plus a couple of LEDs to visualize dits and dahs.
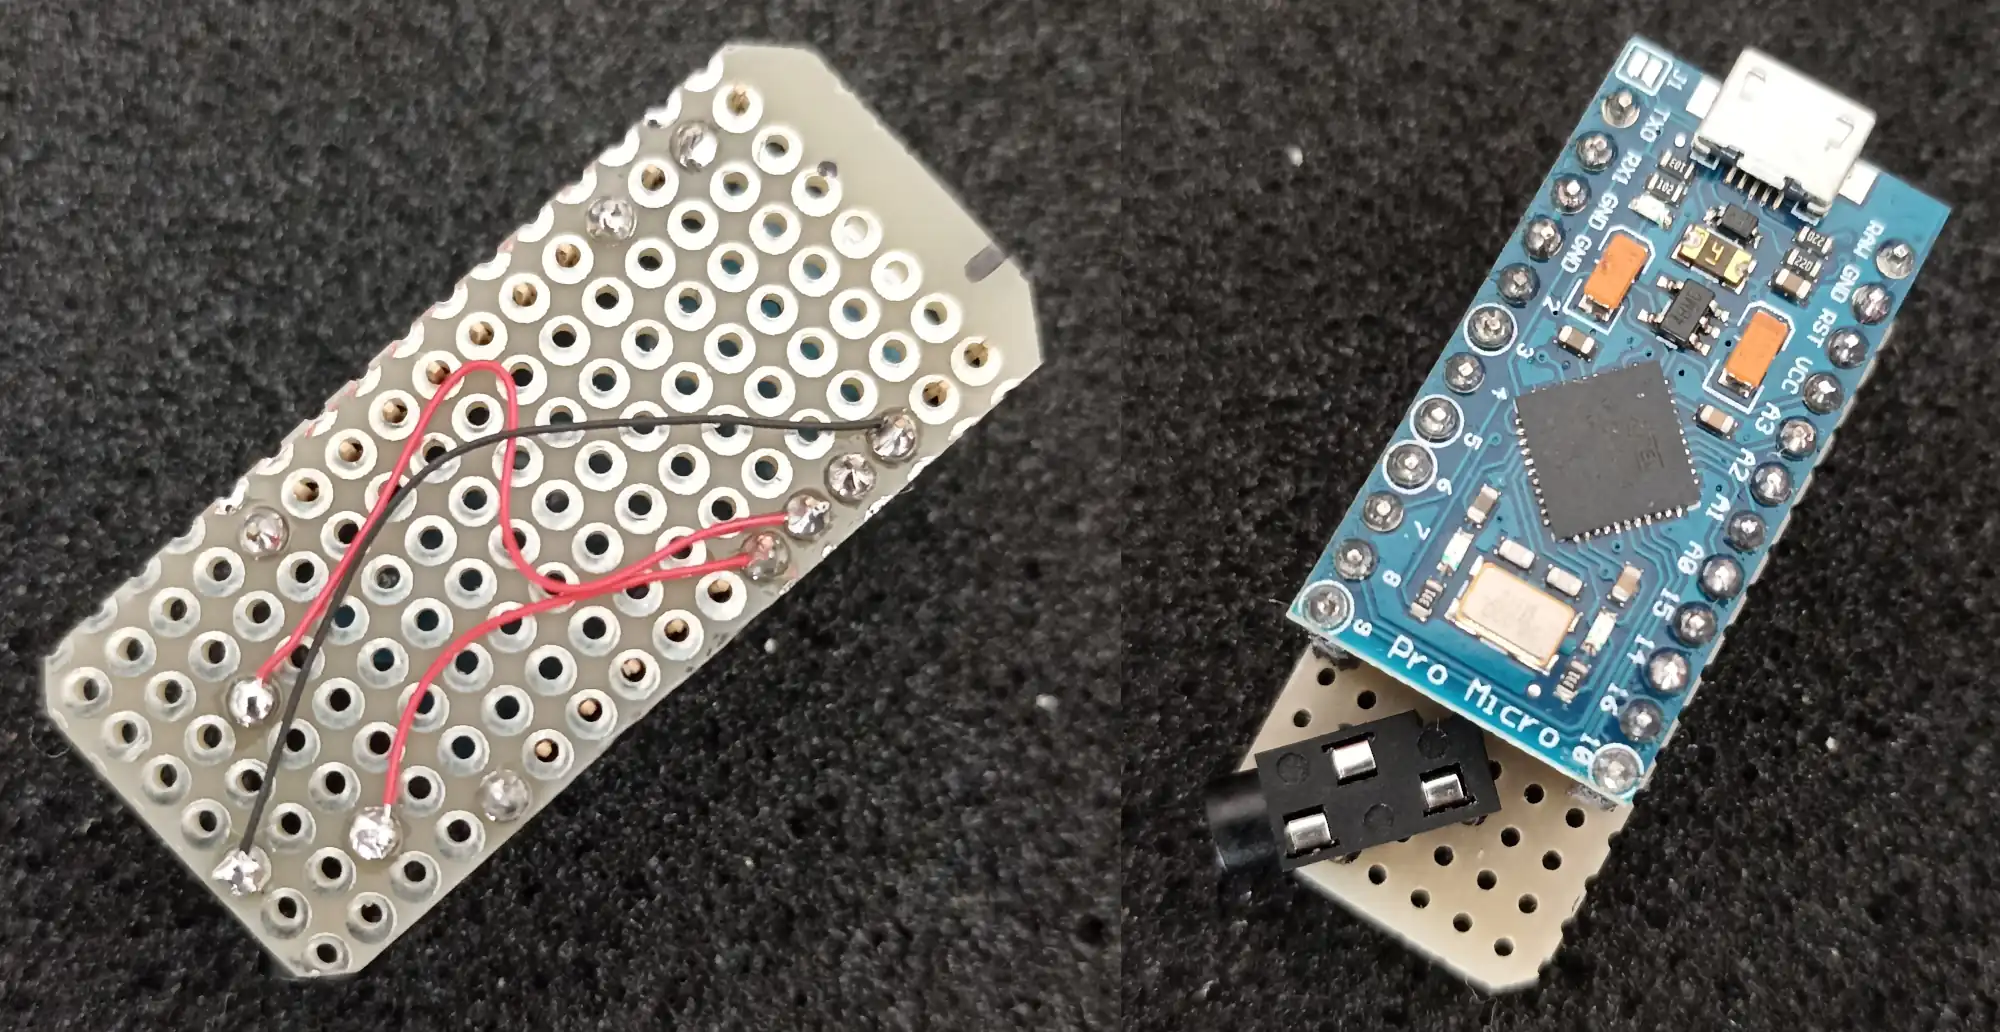
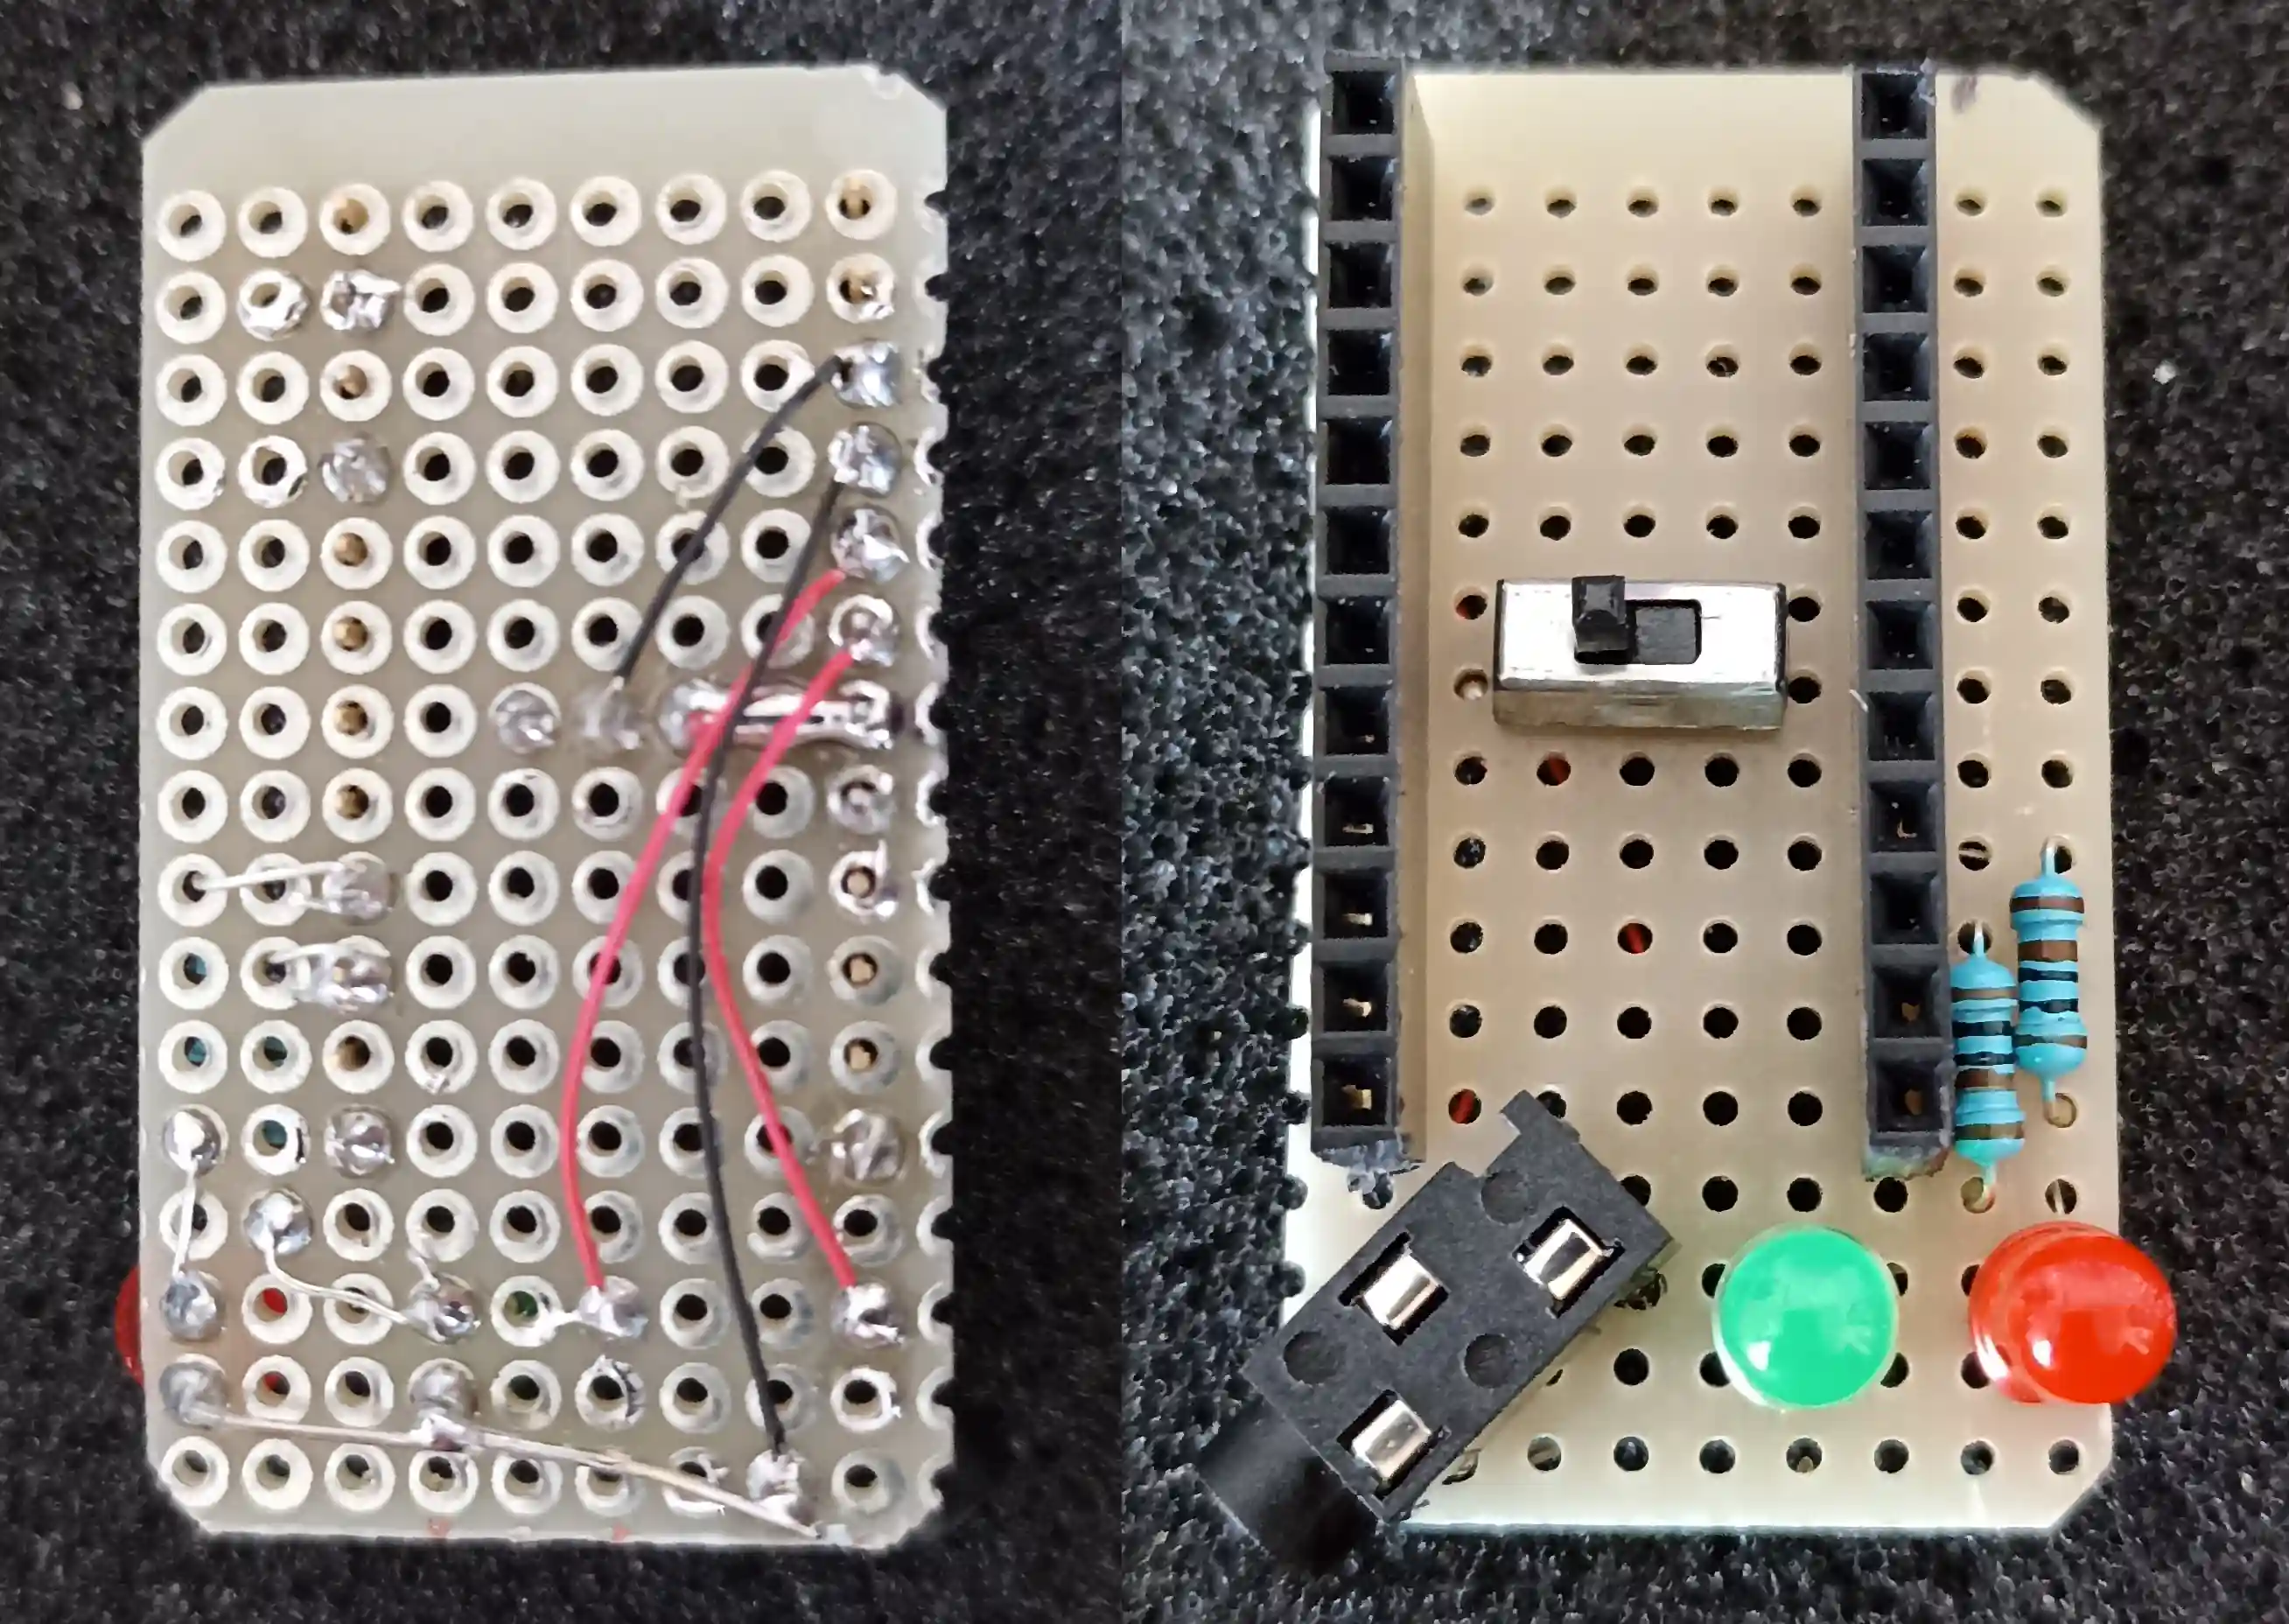
Then I hardwired everything and printed a temporary case.
The code is available here.
You'll need to add the keyboard module to the Arduino IDE before compiling it.
I've comment out the lines used to blink the LEDs, but I left them there for didactic reasons.
Handwiring is cheap and works fine, but it can be intimidating for newcomers.
That's why I designed a PCB with KiCAD.
You can download it from here and send the prebuilt Gerbers to
JLCPCB for example,
or modify the project to fit different jack sockets or switches.
The interface worked without problems... just with one paddle!
The 3D-printed one was only sending dots, no matter which key I was pressing.
When I opened it up, I discovered that both sides were soldered to the tip connection. -.-"
After a bit of patient rework (and some melted plastic), I re-soldered one to the ring. Fixed.
The best practice tip I've found is: start by directly learning the sounds of each letter,
not the written sequence of dits and dahs.
This is because you have to hear it (not read it) when you're out receiving real signals.
The website I found useful to do it is the
Word List Trainer
where you can paste single letters or directly full words, sentences, or CB slang and familiarize yourself with the sounds.
Another fun web-based tool to learn is this one by Perry.
Now I can practice anytime and take my time deciding whether I want to dive deeper into the CW community and start transmitting for real!
Bonus: To solder the pin headers straight, fix them to a bare stripboard using pin sockets, as shown in the image below.
- ..- / -.-. ..- .- --. -. / --... ...--